
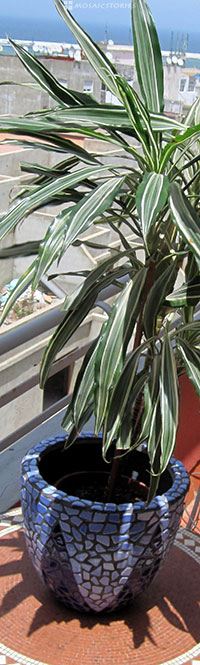
Giving flowers always feels special, but even more special when encased in a classy flower pot.
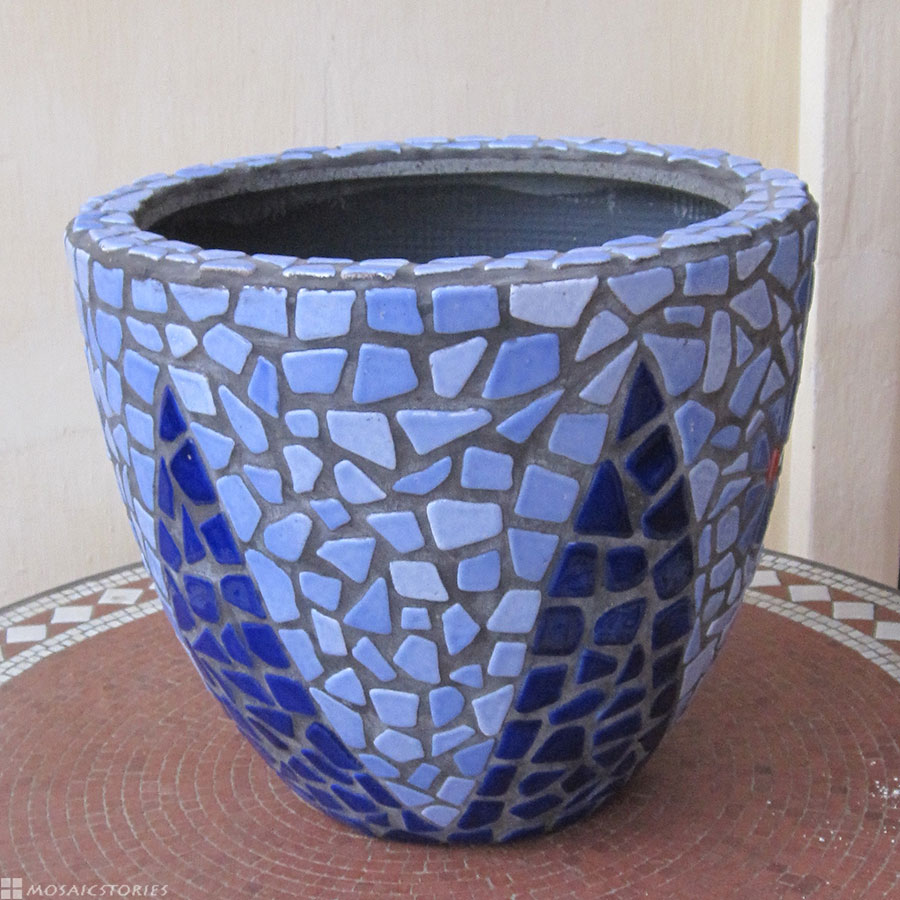
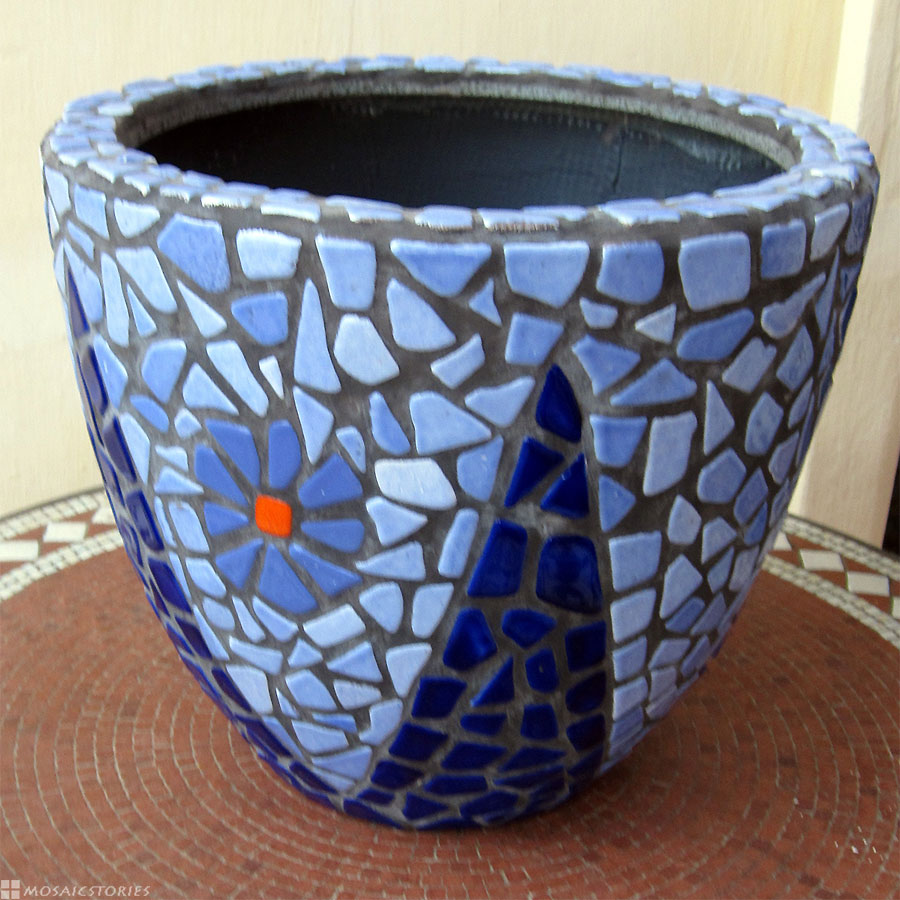
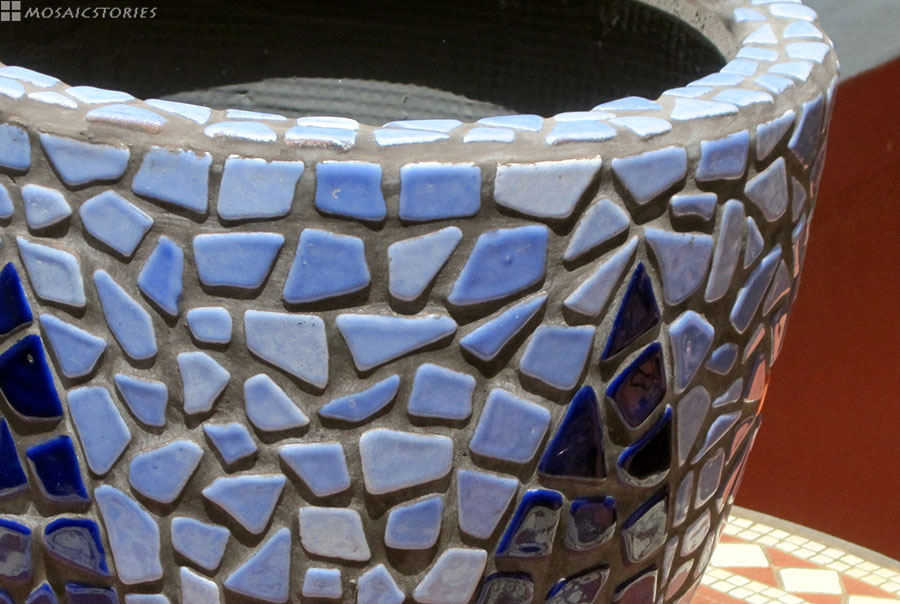
It is the beautiful 2 hued faience-colors of these blue Soft-Bits tiles that let this flower pot radiate an almost ethereal glint.
Of course not everyone likes to break larger tiles wrapped in cloth with a hammer. Not only can splinters cause injury but also does such a harsh treatment result in substantial material loss and surface abrasion of the bits that you actually can use for your mosaic.
Sharp edges are another inconvenience and cause for future splintering or cracking when exposed to freezing temperatures.
This is why Alea designed the Soft-Bits.
Tiles are broken in a special tile crusher ensuring a natural Bits size distribution and minimal cut loss.
Then Bits are submitted to an artificial aging process on our “Artificial Beach”.
Only then will Bits be colored and glazed and baked in up to 5 iterative treatment steps. This ensures highest quality Soft-Bits with a high yield and superior surface smoothness and shine.
For the flower pot we chose Soft-Bits with two contra hues and a red soft-bit as a hint of a red flower. The grouting is done in a natural light grey to keep a minimum contrast.
 And how can you craft such a beautiful mosaic pot in just one afternoon ?
The pot: A large round stone or resin pot is ideal. Ours is made of resin and measures 40cm in diameter at the top. You will get such a pot in almost every DIY store or garden center.
As clay pots are too fragile and since stone pots obviously are quite heavy when larger we chose the resin one.
The glue: Our glue was a simple plastic gluten that bonds plastics and thus in this case our resin pot with ceramic Soft-Bits.
The mundane secret of professional gluing is to read the instructions and if you want to be rather safe than sorry to test glue a Soft-Bit before you do the whole work.
The joint compound: It is available in any DIY store in the tile department.
Workflow:
Start with drawing the desired pattern onto the surface of the pot. In our case the V-shaped areas for the brighter blue as well as the position of the hinted flower.
Next we tile the rim as rim and outer surfaces will join more smoothly this way.
Then we work along the borders of the different hue areas first. This ensures that the pattern is kept coherent.
Use a palette or putty knife to glue on the soft-bits. Put the glue onto the bits or the pot whichever you are more comfortable with. Press on the bits for a few seconds.
After the glue has hardened (see inscription for hardening times) mix the joint compound and fill spread it with a sponge or a grouting rubber across all surfaces.
Simply wipe away excess compound with the well squeezed sponge.
After another 15 minutes drying time you can carefully wipe across the pot with a damp cloth.
After an hour of hardening the surface can be polished with a dry cloth which gives the Soft-Bits their unique shine and your Soft-Bits flower pot is completed!
Now just the flowers are missing!